
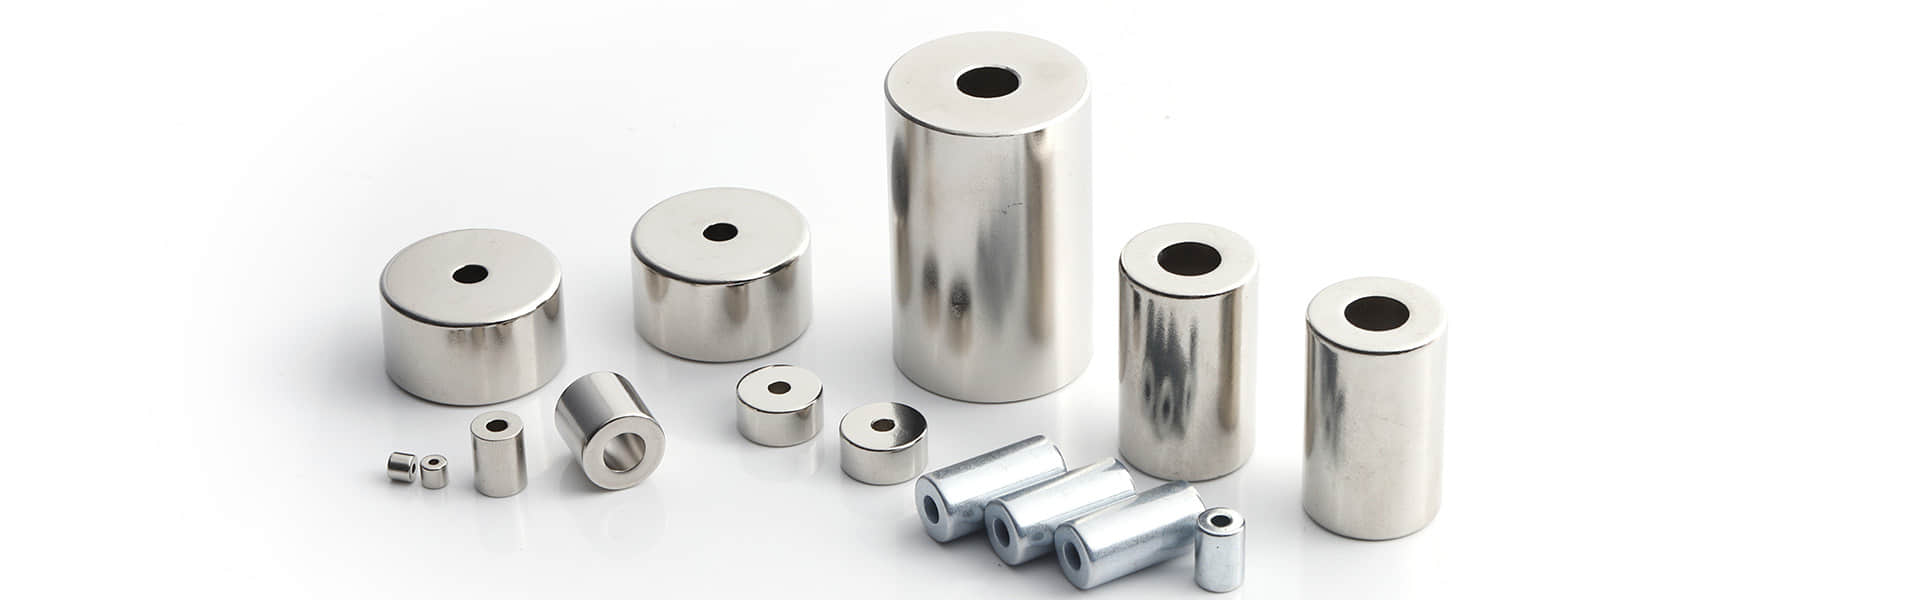
Bonding Neodymium Magnets into Plastic Housings: A Buyer Checklist
A small neodymium magnet can fit neatly into a plastic housing, yet reliable retention depends on more than matching its diameter to a pocket. The finished magnet surface, the plastic resin, the adhesive and the assembly process all need to work together. Buyers can make the first sample review more useful by defining those interfaces before placing an order.
This checklist covers magnets installed with a separately applied adhesive. Start with the actual housing drawing and the proposed bonding process so the magnet supplier, adhesive supplier and assembly team can review the same requirements.
Name the two surfaces being bonded
Specify the plastic resin grade and any surface treatment, paint or release agent that may be present in the pocket. On the magnet side, identify the finished coating rather than describing the part only as NdFeB. The adhesive contacts that coating, so a material description without the surface finish leaves an important part of the joint undefined.
Ask the adhesive supplier to assess the exact combination. A product suitable for one plastic or one magnet finish should not be assumed suitable for another. Record the selected adhesive and any approved primer in the assembly documentation.
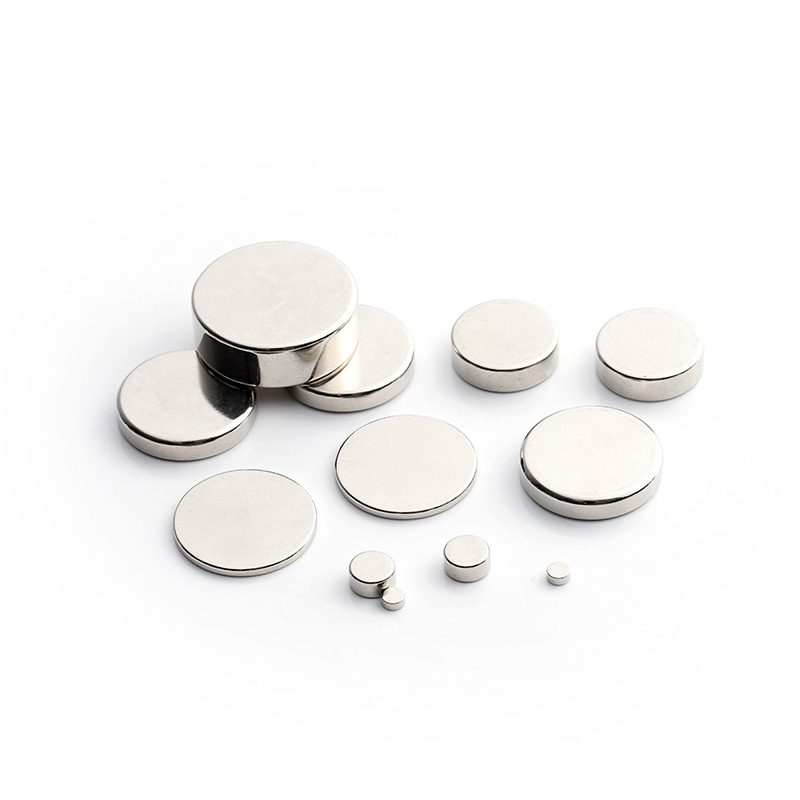
Define the pocket and pole orientation
Show the magnet's finished dimensions and tolerances together with the pocket geometry, intended adhesive space and final exposed face. Specify whether the magnet sits flush, recessed or proud of the housing. Include the pole orientation and an assembly reference so the correct face is positioned before the adhesive sets.
The drawing should make clear what locates the magnet during assembly and what retains it in service. If a lip, cover or other mechanical feature contributes to retention, include it in the review and prototype test.
Agree on preparation and curing
Use the adhesive manufacturer's instructions to define cleaning, application, working time, fixturing and full cure. Confirm that the proposed cleaner or primer is compatible with both the plastic and the magnet coating. Any abrasion or surface treatment should be approved for the supplied finish before it becomes a production step.
If the process uses heat, confirm the allowable temperature exposure for the magnet, housing and adhesive. Keep parts located during the required cure period and assess the joint after the specified cure, rather than judging it only when the adhesive first appears set.
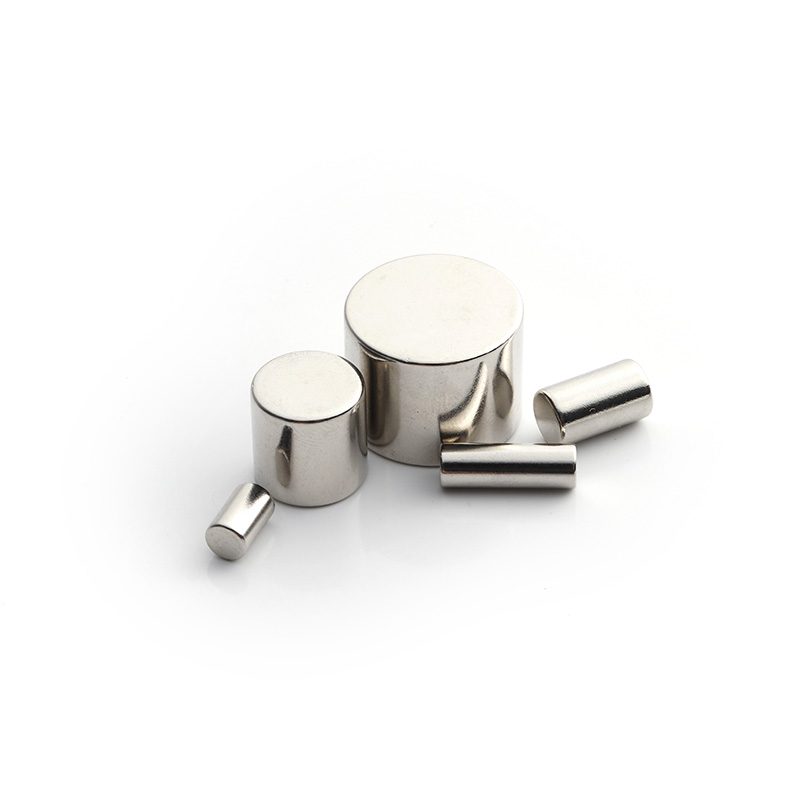
Test retention in the finished assembly
Describe the expected opening force, repeated operation, vibration and environmental exposure. A magnet's attraction to a steel target does not establish how securely its bonded joint holds it in the housing. The device team should define a retention test and acceptance criteria for the actual joint.
Use representative magnets, molded parts and the intended assembly process for prototype validation. Record the sample identity, cure conditions, test method and observed failure location if a joint fails. This gives the suppliers useful evidence for reviewing the material combination or geometry.
Prepare a complete magnet inquiry
Send XILAI the magnet and housing drawings, finished magnet coating, required poles, resin identification, proposed adhesive process, operating conditions and prototype quantity. Identify any items still being evaluated. These details support a focused discussion of magnet samples and dimensions while the assembly team validates the complete bonded joint.